
Essential Insights on RV Roof Repair for Longevity and Protection
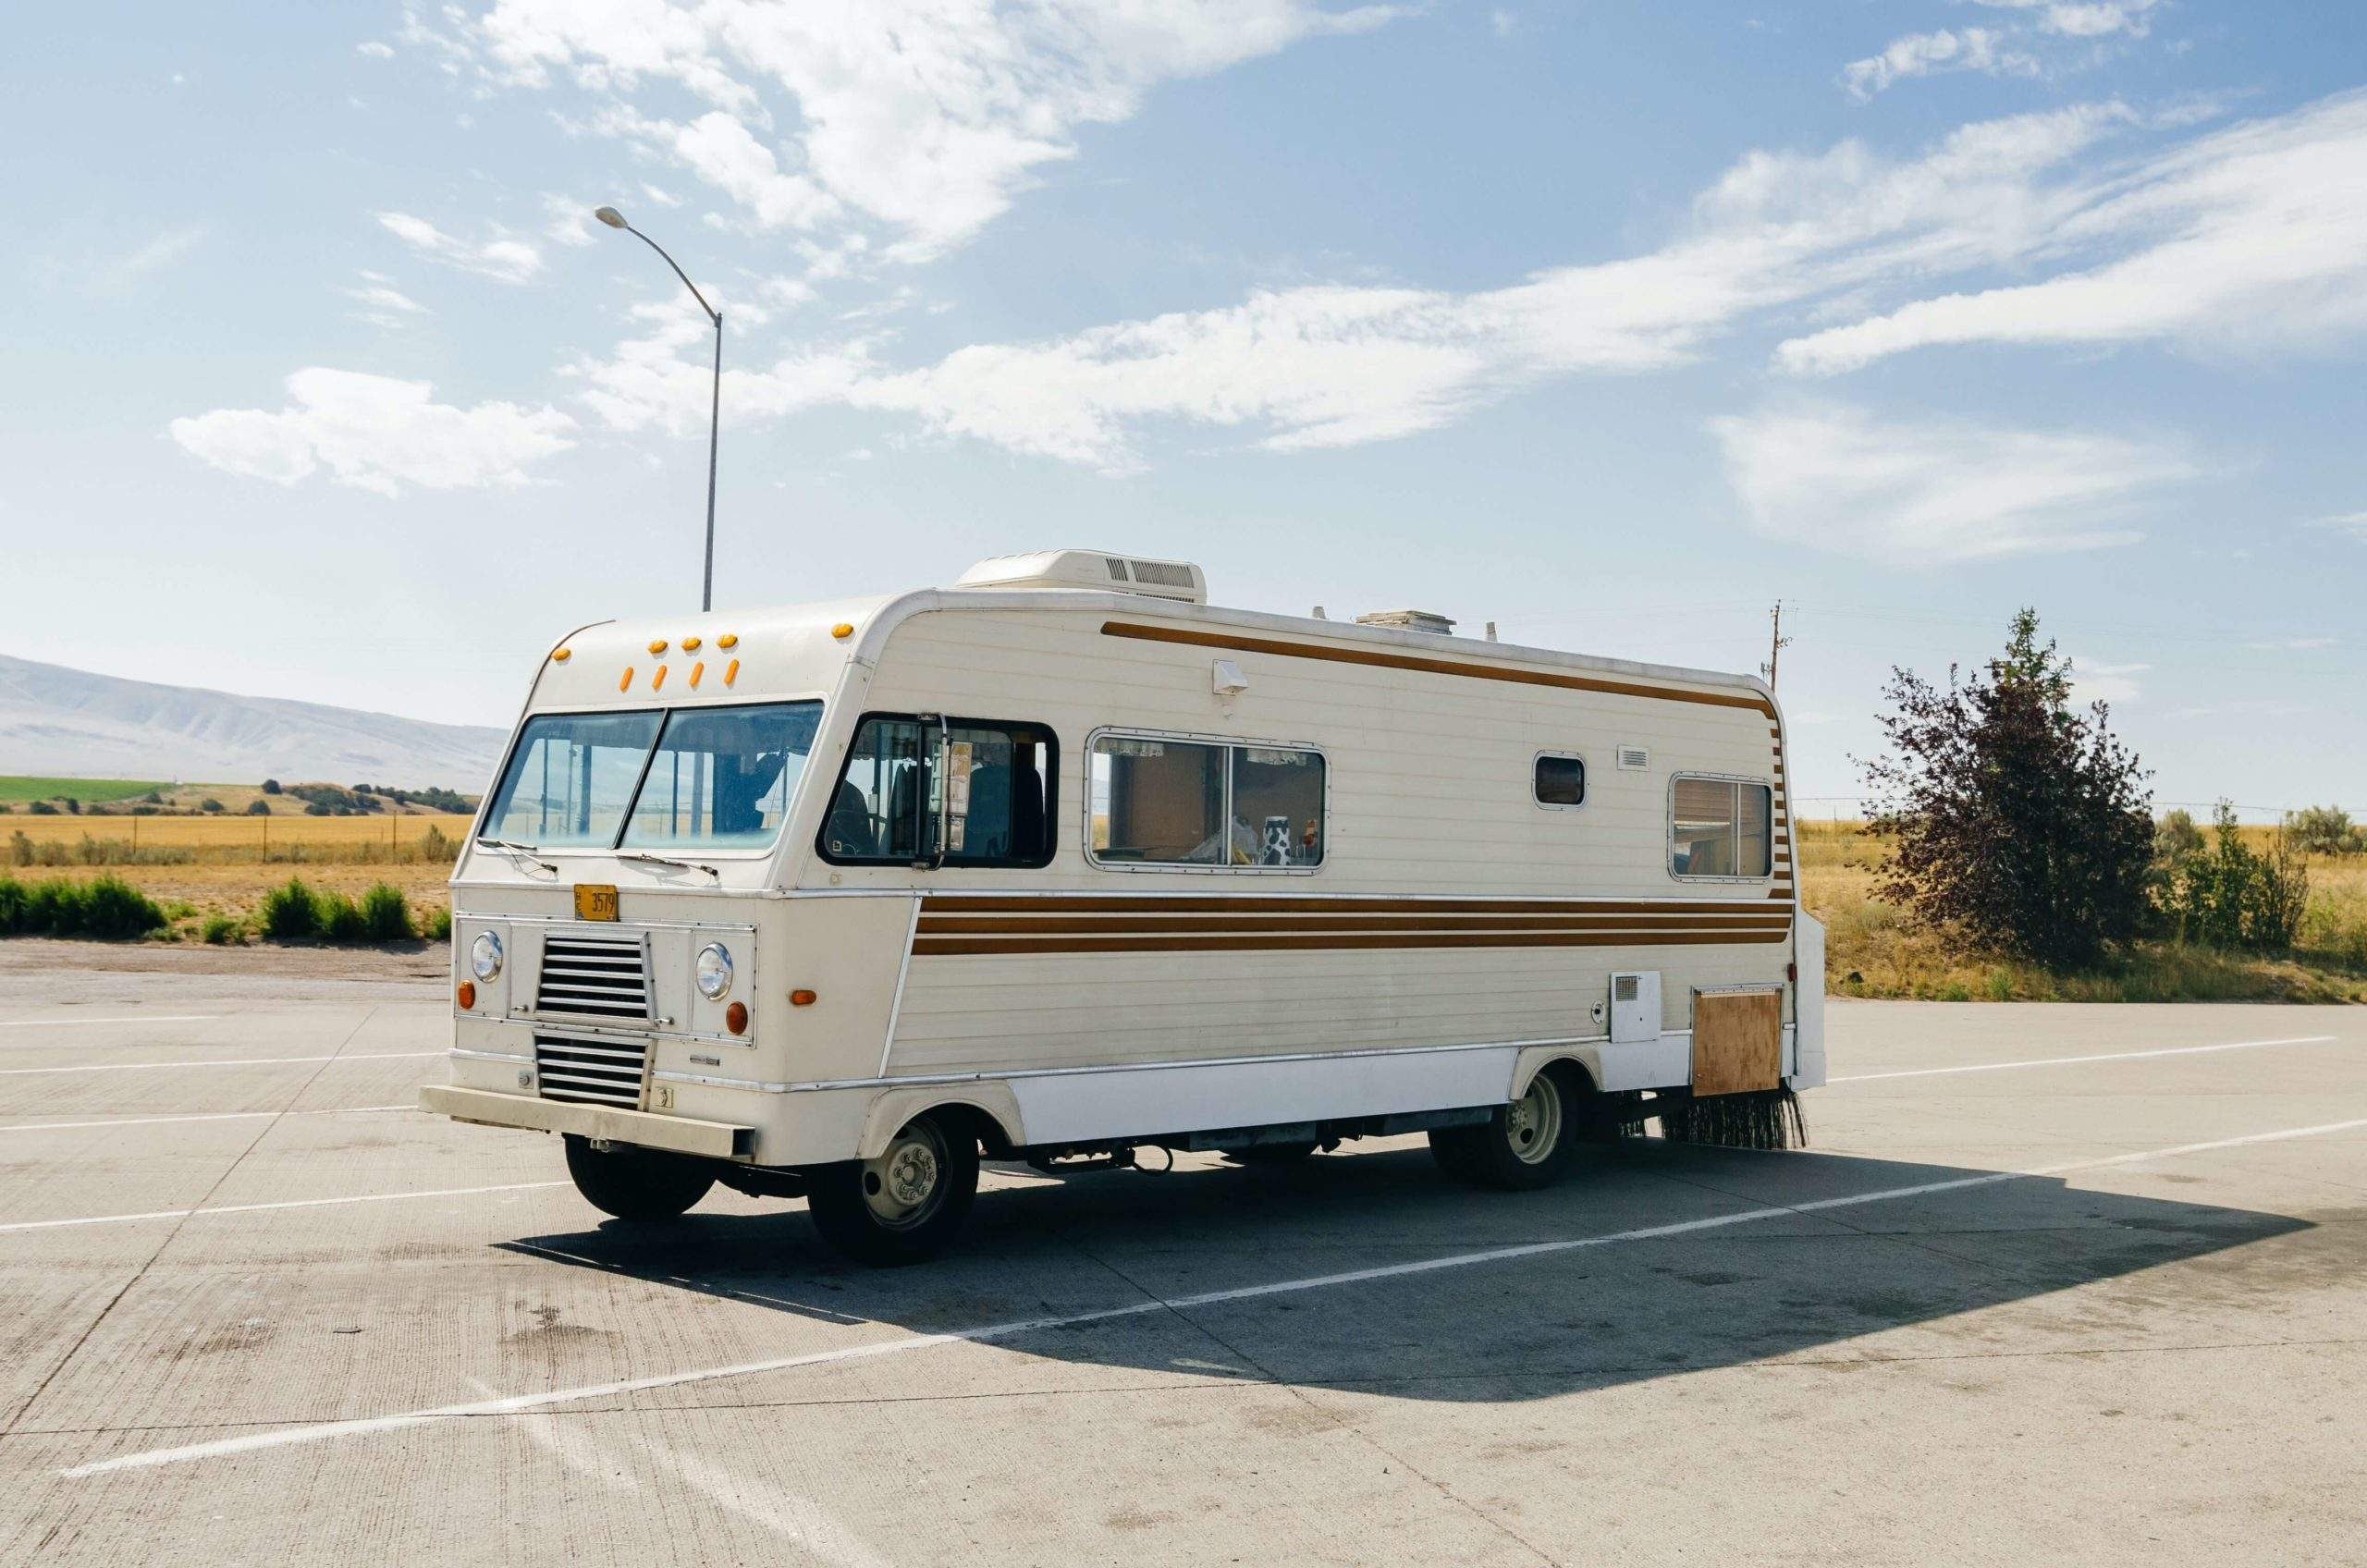
Maintaining the roof of an RV is crucial for protecting the vehicle from weather damage and ensuring a comfortable travel experience. Over time, the roof can develop leaks, cracks, or other damage that compromise its integrity. Understanding the essentials of RV roof repair allows owners to address problems early, preserving the value and usability of their recreational vehicle.
Common Causes of Damage Leading to RV Roof Repair
RV roofs face constant exposure to sun, rain, wind, and debris, all of which can cause gradual wear and tear. One of the most frequent issues necessitating RV roof repair is the development of leaks. These leaks often arise from cracks in the roof material or failing seals around vents, skylights, or air conditioning units.
Age also plays a significant role in roof deterioration. Materials like rubber or fiberglass may become brittle, lose flexibility, or shrink, making them prone to tears. Extreme temperatures and UV exposure accelerate these processes, especially in regions with harsh climates.
Physical damage caused by falling branches or accidental impacts can create punctures or abrasions on the roof surface. Even minor damage can lead to water infiltration if left unattended. Neglecting routine inspections allows small issues to develop into costly repairs requiring extensive work.
Many RV owners may not realize how crucial routine maintenance and timely RV roof repair are until water damage appears inside the vehicle. Moisture intrusion can harm insulation, wiring, and interior finishes, potentially causing mold growth or structural decay. These problems emphasize the need for vigilance and early intervention.
Materials and Methods Used in RV Roof Repair
Different RVs come equipped with various roofing materials, each requiring specific repair techniques. Common roofing types include EPDM rubber, TPO, fiberglass, and aluminum. Knowing the material type helps determine the proper approach to RV roof repair.
EPDM rubber roofs are popular for their durability and flexibility. Repairs typically involve cleaning the damaged area thoroughly, applying specialized adhesive or patch kits designed for EPDM, and sealing the edges to ensure watertight protection. This material allows for relatively straightforward DIY repairs when damage is localized.
TPO roofs, made of thermoplastic polyolefin, also offer strength and resistance to UV rays. Repairing TPO roofs may require welding patches with heat or using compatible adhesives. These roofs often require professional handling to ensure proper sealing and long-term durability.
Fiberglass roofs need careful attention due to their rigid structure. Small cracks or holes can be fixed with fiberglass repair kits that include resin and reinforcing cloth. However, extensive damage might call for professional refinishing or replacement to restore full protection.
Aluminum roofs, common in older or specialty RVs, require metal patching and sealing products to address corrosion or holes. Proper surface preparation and compatible sealants are essential to prevent further deterioration.
Regardless of the material, cleaning the roof surface before any repair work is essential. Dirt, oils, and debris can prevent adhesives and sealants from bonding effectively, jeopardizing the repair’s success.
Preventative Care and Maintenance to Avoid Frequent RV Roof Repair
Routine inspection and maintenance help extend the life of the roof and minimize the frequency of repairs. Checking the roof before and after trips can identify potential problems early. Pay close attention to seams, seals, and areas around fixtures, where leaks are more likely to develop.
Applying UV protectant coatings periodically protects roofing material from sun damage and cracking. Keeping the roof clean from dirt, leaves, and tree sap also prevents accelerated wear. It is advisable to remove standing water promptly, as pooling can deteriorate roofing materials faster.
Seals around vents, skylights, and air conditioning units should be inspected regularly and resealed as needed. Using high-quality sealants compatible with your roof type ensures proper adhesion and flexibility.
Professional roof inspections every few years can detect hidden damage or weaknesses. Experts may recommend preventive treatments or minor repairs to avoid costly issues later. Following manufacturer guidelines and recommendations supports proper care specific to your RV’s roof type.
Timing and Choosing Between DIY and Professional RV Roof Repair
Deciding when to tackle RV roof repair yourself or call a professional depends on the extent and nature of the damage. Small tears, cracks, or punctures often can be repaired by owners with the right materials and instructions. Many manufacturers and aftermarket suppliers provide repair kits with detailed guidelines.
However, larger damage areas, complex roofing materials, or leaks that are difficult to locate require professional attention. Experts have specialized tools and experience to perform thorough repairs and test for leaks. Improper repairs may worsen the problem, leading to water damage and increased costs.
Hiring a professional also provides peace of mind through warranties or guarantees on the repair work. They can assess whether the roof needs partial or full replacement and recommend the most cost-effective and durable solutions.
Timing the repair promptly is critical. Waiting until leaks cause interior damage or structural issues significantly raises repair expenses and downtime. Regular maintenance and early action reduce the chance of emergencies and extend the lifespan of your RV roof.


